Tutorial - Cats!
Tutorial time! Yay!
So you'll need two toothpicks and about a quarter sized roll of clay.
To start out, grab a little bit of clay and knead it.
Start forming it into a cat face. Use the toothpick. Use your fingers. I normally start by making it a teardrop shape and then pinch the rounded side into two triangles.
Move the triangles around by tugging them into place, then smooth them down by rolling the toothpick gently around them. With the pointy end of the toothpick, poke two holes where you want the eyes.
Continue tweaking it until you're done with it.
Remember to be comparing your head with an actual cat or picture of a cat! Sometimes I get sidetracked and then I'm making a dog, not a cat. Or a porcupine.
Take another bit of clay. Make sure it's scaled right, about the same size as the below picture.
Pull off some and roll it into a ball.
Split the ball in half.
Take one ball and roll it into a cylinder. Pinch one-third of the cylinder slightly.
Place the pinched end on the body and begin to gently roll the toothpick to smooth the clay together.
Smooth until you can't see a line.
Repeat the process for all of the legs.
Take a strip of clay and form it into your tail.
Put it on the end of the body the same way you did the legs.
Take the head and begin to form the neck like you did the tail and the legs.
Tweak your cat a bit until you're done.
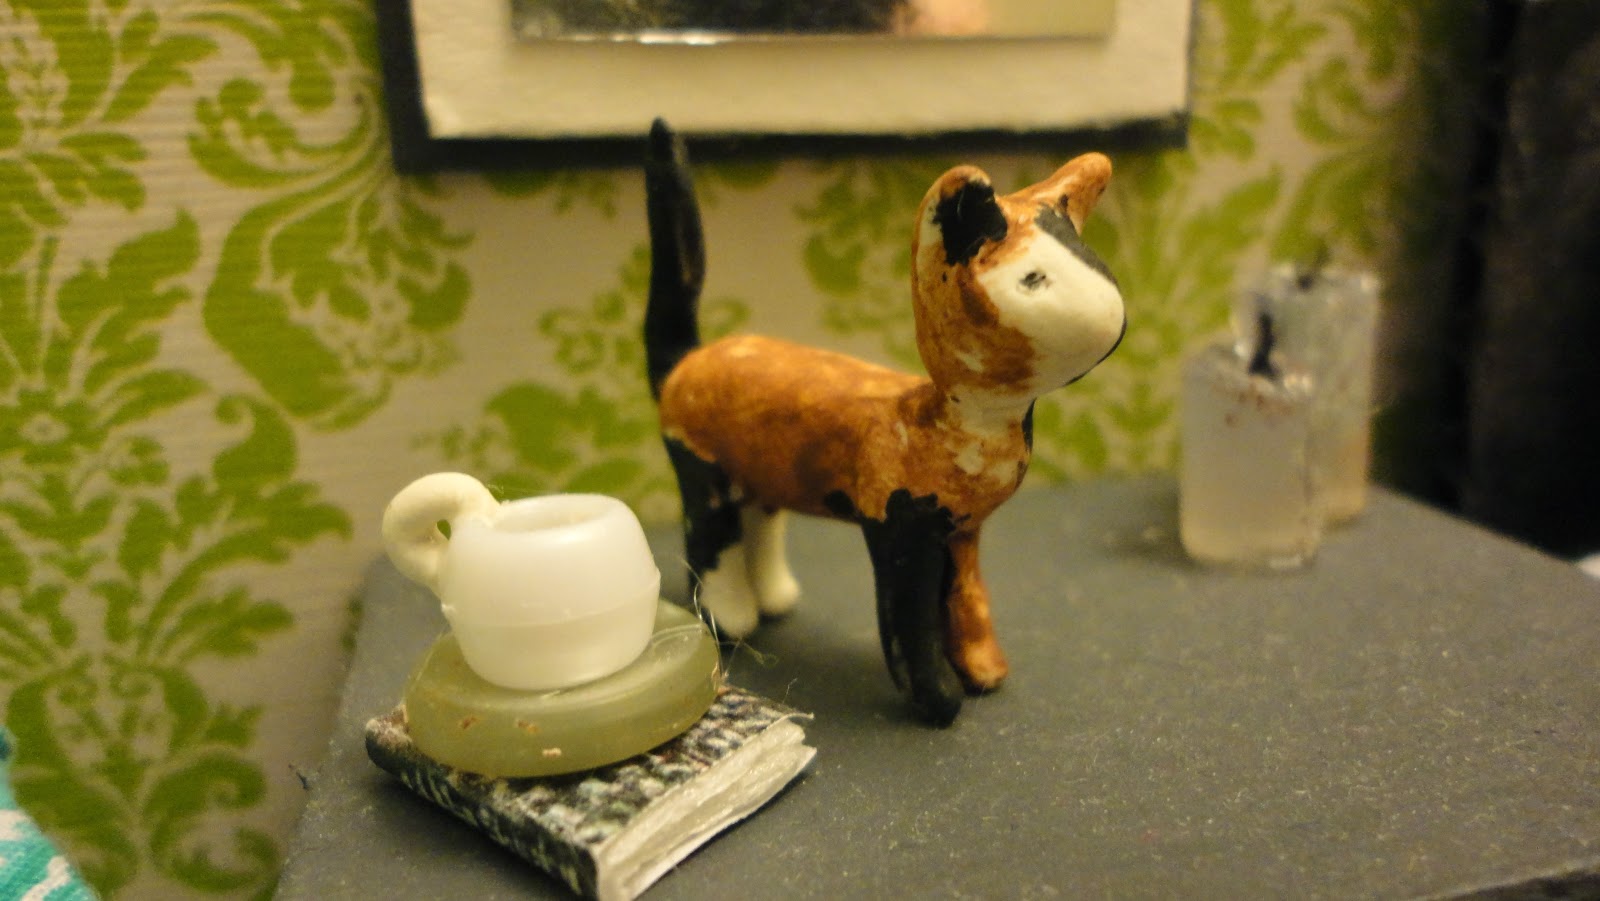
Bake it, paint it, you're done! Yay!
Now all you have to do is coo at it and name it, then laugh at yourself for cooing over a baked piece of clay.
Happy summer! :D


This is so cute, I have to make one soon c:
ReplyDelete